Reports: Client List
Updated Jul 29th, 2024
Who is this guide for?
Accounts Users and Accounts Supervisors
This guide will take you through running the Client List Report
This report lists all of your clients names and addresses according to the filter options that you choose. This list can then be used for purposes outside of Osprey by exporting to Excel.

Filter options
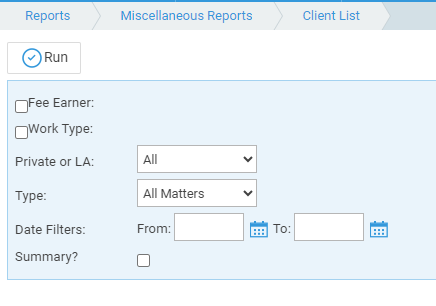
- Fee Earner – Tick this box to select only certain fee earners, or leave unticked for all fee earners.
- Work Type – Tick this box to select only certain work types, or leave unticked for all work types.
- Private Or LA – Leave on All for all clients or select Private or Legal Aid.
- Type – Choose from All Matters, Live Matters or Archived Matters.
- Date Filters – Enter the date range for the matters you wish to see.
- Summary – if ticked doesn’t include the matter details – matter number, fee earner or work type, i.e. client details only.
List of columns produced
- If Summary is ticked
- Client Number
- Client Address (all fields)
- Client Billing Address (all fields)
- Client names 1-5
- If Summary is not ticked
- Client Number
- Matter Number
- Fee Earner Code
- Work Type Code
- Client Address (all fields)
- Client Billing Address (all fields)
- Client names 1-5
- Fee Earner Description
- Work Type Description
How to use the excel sheet in a Word Mail Merge
When the report has been generated to screen, select Export type Excel in the top right of the report.
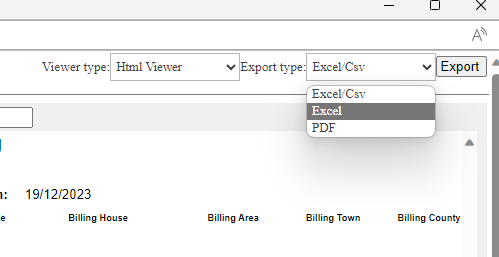
Click Export.
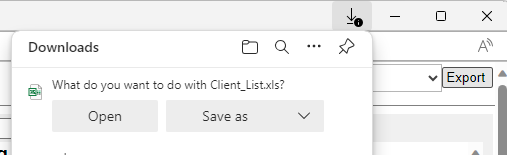
Click Save As, select a location, name your file and ensure that the file type is XLS

You can now use this excel sheet as a data set for a Word Mail merge.
Follow Microsoft’s guidance here to create your letters using this excel sheet.