Configure Your Browser: Google Chrome
Updated Jun 13th, 2022
Who is this guide for?
Any Users
To ensure that your browser has been configured to run Osprey as well as possible, follow this guide to ensure that Google Chrome is fully set up to run Osprey.
Step 1
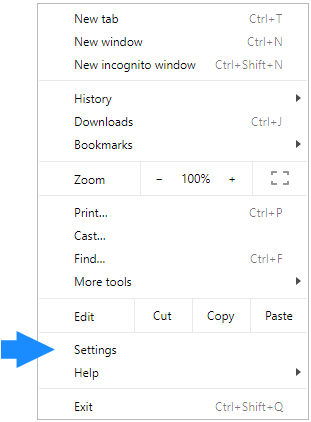
At the top right of your browser window, select the ‘Tools’ button, as highlighted below:

Now, select the ‘Settings’ option from the resulting drop-down list.
Step 2
At the very bottom of the Settings page, select the ‘Advanced’ option.

This will show the ‘Privacy and Security’ area. Select the option for ‘Content Settings’.

Step 3
This will bring up a new menu, as shown here.

Select ‘Cookies’. At the bottom of the resulting options, there will be an area headed ‘Allow’. Click on the ‘Add’ button to the right of this.
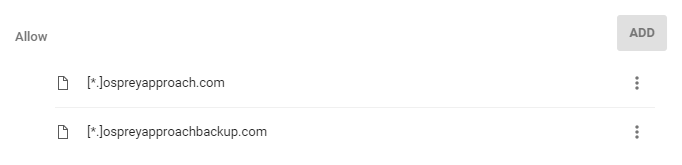
A pop-up will appear. In the text box, enter [*.]ospreyapproach.com and click ‘Add’. Then do the same with [*.]ospreyapproachbackup.com and click ‘Add’. The screen should now show as below:
Now select the ‘Back’ arrow at the top of the screen to return to the ‘Content Settings’ area. Scroll down the list of icons and select ‘Popups’.

Step 4
As previously, there is an area titled ‘Allow’. Select the ‘Add’ button and add [*.]ospreyapproach.com and [*.]ospreyapproachbackup.com in the same way.
Once complete, you can close the settings tab.