Customise Matter History Columns (App)
Updated Jul 30th, 2024
Who is this guide for?
Any Users
This guide takes you through customising the matter history in the app
The Documents section in Osprey is customisable and will allow you to rearrange the columns as required.
Add and Remove Columns
You can tap any column heading to sort Documents either ascending or descending.

It is also possible to drag the columns around if you wish to reorder them. Simply hold down the left mouse button while hovering over a column heading and drag and drop the column to where you would like it to appear.
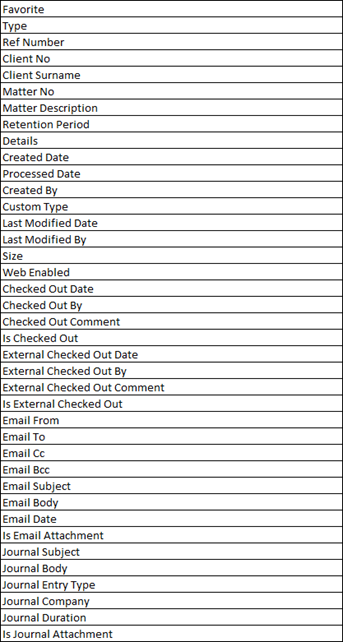
The following table shows all the columns available
Rearranging the Column Order
Click the Column Heading and slide it to the desired position
Resizing The Columns
To resize the Columns use the horizontal arrows to adjust them to the size that you Require. These settings will then save for when you next log into the app.
