Locate and Recover Lost Documents
Updated Jul 30th, 2024
Who is this guide for?
Any Users
This guide will take you through locating any documents that have not saved successfully in Osprey
Occasionally, due to an internet connectivity or network issue, your document may not be able to save back into Osprey.
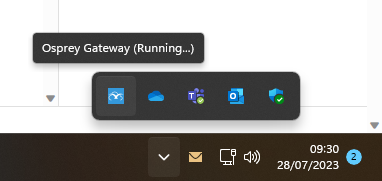
With the Osprey Gateway
Documents will automatically delete after a specific number of days, so it is important to try recover the document as soon as possible.
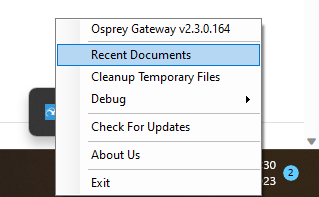
The Osprey Gateway includes a “Recent Documents” option, which retains a copy of any documents that have failed to save back into Osprey. To access these, right click the Osprey Gateway App
Select the Recent Documents folder
The Recent Documents folder will then open. This contains all of the document temporary files from Osprey saved locally on your machine. Locate the temporary file and double-click to reopen it.

Users can now save this document to a secure location for uploading or copy any changes into Osprey manually.
In the Case Management App
When Osprey generates a document from the Case Management App, the document is automatically deleted from the local machine.
There are some instances where the document is prevented from being saved back into Osprey, which may possibly be recovered.
All documents opened in Osprey are also stored locally on your machine as a word temporary file, which this guide will show you how to access.
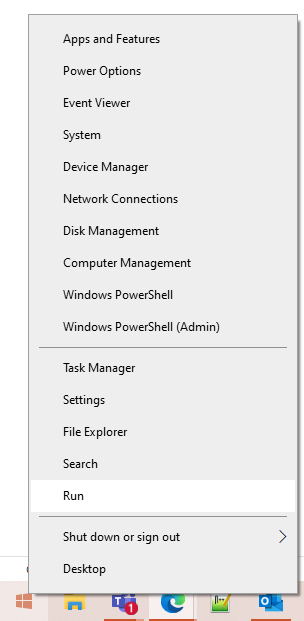
Right click your windows start icon, and select Run
From the Run box, type %localappdata% and click OK
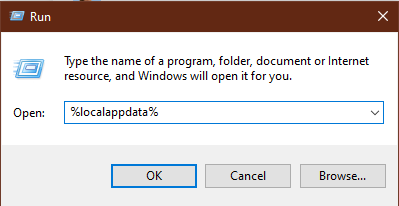
File Explorer will open, navigating to a folder called C:\Users\{username}\AppData\Local
Locate the folder ‘Packages’ and double click.
Within Packages, there will be a number of folders starting with ‘PraccticeLimited.’ Open the relevant folder for the Case Management App you are using.

Now locate LocalState folder, and then another folder named OspreyDocuments.

This contains all of the document temporary files from Osprey saved locally on your machine. Simply double-click one of the document folders available here to reopen it.

Please note that the name will appear as the Osprey ID. To locate a specific document, you will need to use the ‘Date Modified’ column to assist in identifying it.