Managing Users
Updated Feb 21st, 2025
Who is this guide for?
System Supervisors
As your firm grows, you may need to add more users to allow them access Osprey. This guide will take you through adding them and ensuring that they have the correct level of access
Reviewing your active users
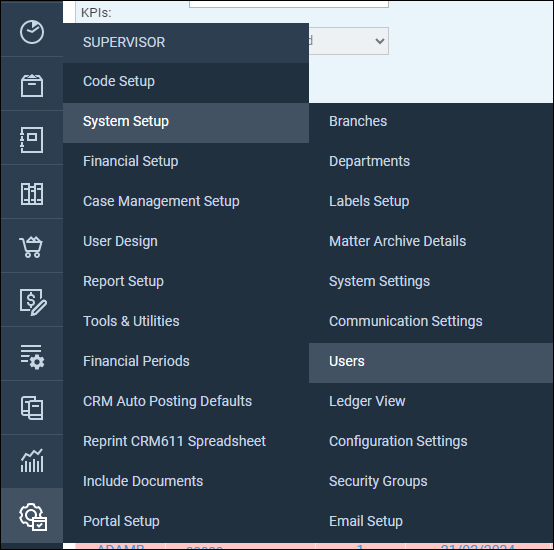
Navigate to Supervisor > System Setup > Users
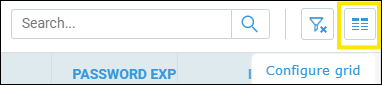
Click the Configure grid icon
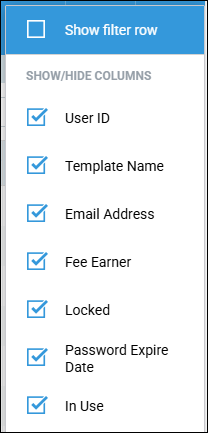
Tick Show filter row
Choose Checked from the IN USE column filter
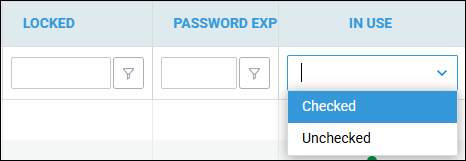
Please ignore any users with pracctice.net or ospreyapproach.com in the email address from your count
Please note that only Supervisor level users will be able to add and amend users, but you will need to contact us to have them activated.
Add a new user
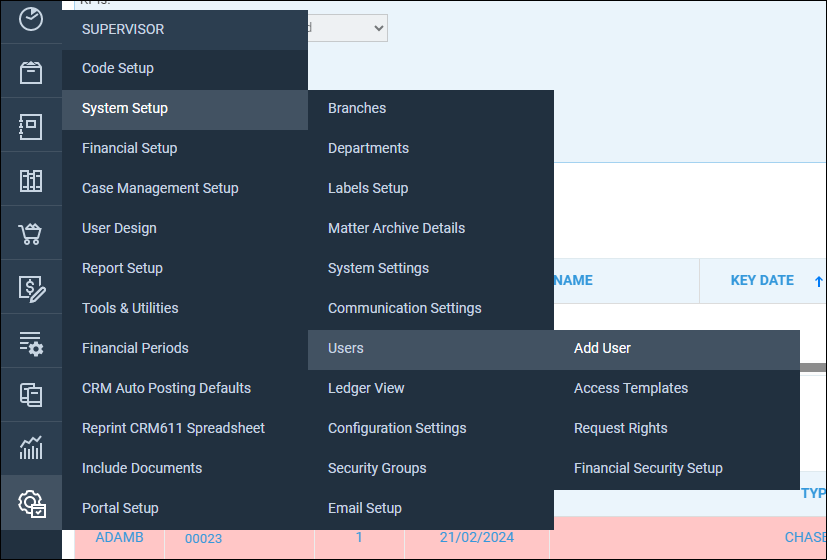
Navigate to Supervisor > System Setup > Users > Add User
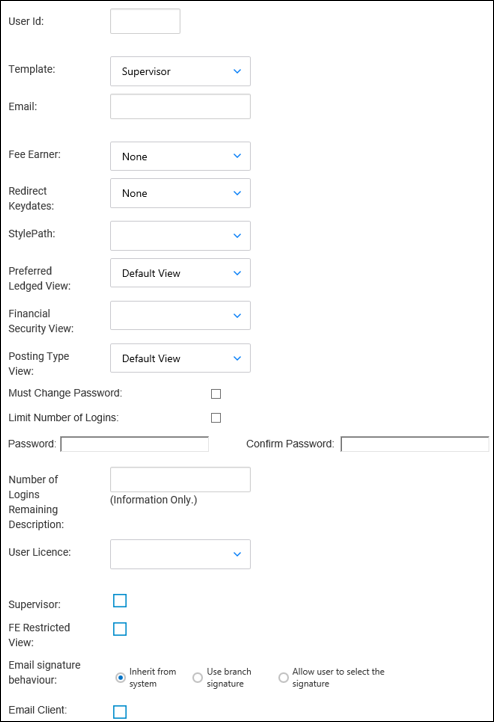
- User ID – This will be the user’s login name. Please note that spaces and special characters cannot be used in the User ID.
- Template – Select a relevant level of access for your user to have from this list.
- Email – Enter the user’s email address here. Please note that this is a compulsory field.
- Fee Earner – If the user is a Fee Earner, select them from this list. Please note that they must first be added as a Fee Earner in the Supervisor > Code Setup > Fee Earners area.
- Redirect Keydates – Use this to redirect any key dates from another fee earner to this user. This can be useful if a fee earner is on leave to ensure that important dates are not missed.
- The Stylepath, Preferred Ledger View, Financial Security View and Posting Type View can all be left unchanged. These fields give customised options to the way the user views information.
- Must Change Password – If this option is selected, it will force the user to change their password after the designated number of days have elapsed. If you do not wish to force a password change, leave this unticked.
- Limit Number of Logins – This enables you to restrict the number of times a user can log in. Leave this option unticked if you do not want to apply this restriction.
- Password & Confirm Password – Enter the password for the user here.
Please note that we do not store user’s passwords and will be unable to get this information for you should a password be forgotten. - User Licence – When a user is first created, they will be set to inactive by default. To have your new user account activated, please contact support.
- Supervisor – Tick this box if the Fee Earner is a Supervising Fee Earner.
- FE Restricted View – If this tick box is selected, this will restrict the access of the Fee Earner just to his/her own matters.
- Send Email Permission – Tick this to allow users to send emails from Osprey. If this is unticked, they will receive a security message when attempting to send an email.
Once complete, click Save to add your new user.
You will then need to contact the Osprey support team to have this user activated.
Deactivate a user
Should a user account no longer be required, you will be able to deactivate the account and free up a licence to add a new one.
Each user that is created has a unique username and password which they can use to access Osprey from any location with an Internet connection.
Although users may be created and deactivated by any user with Supervisor level access, the activation of the user account is controlled by Pracctice Ltd.
To deactivate those user(s) that no longer require access, navigate to Supervisor > System Setup > Users.

This shows a complete list of users currently present on Osprey.
Please note that you can only delete a user if they have not yet logged in.
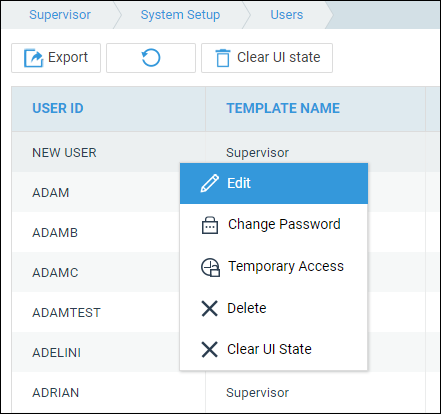
Right-Click and select Edit to modify the user.
Toggle User Licence from Flexi to Inactive.
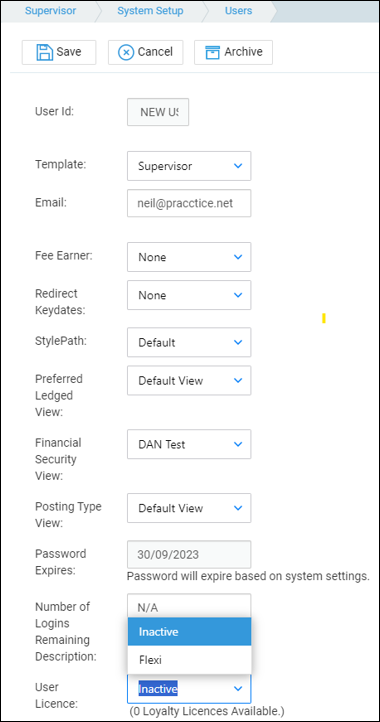
Now select Save at the top of the screen to deactivate this licence.
You may receive a pop-up to advise you that this user has been logged out.
Following deactivation, the user will appear as inactive within the User list.
Reset your password
If you have access to the Osprey homepage, you can reset your own password using the below guide
Reset another user’s password
Supervisors also have the ability to reset users passwords. Navigate to Supervisor > System Setup > Users

Your user list will now be displayed.
Check the ‘Email Address’ column next to the relevant user to make sure that their email address is accurate – As this is the email address to which the new temporary password will be sent.
If you wish to change the email address, right-click on the relevant user and select Edit.
Now enter a new email address in the available box. Click Save to confirm the change.
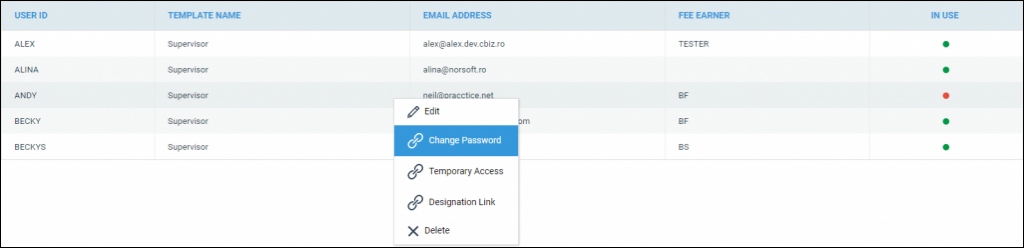
To change the password, right-click and then select Change Password.
You will now see the below screen.
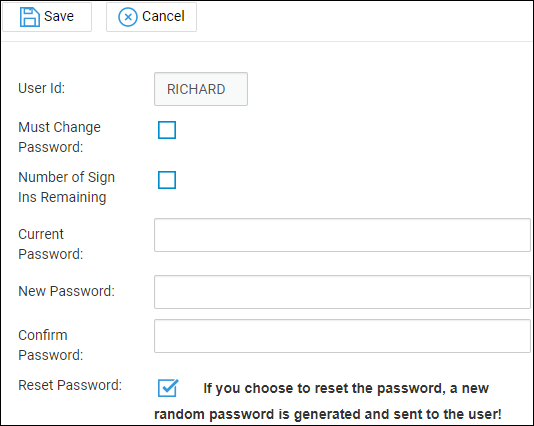
If you know the user’s password and wish to change it manually, enter the current password in the available box, then enter a new password in the subsequent two boxes.
Click Save to change the password.
If you wish to reset the user’s password, tick the ‘Reset Password’ box and then click ‘Save’. The user will receive an automated email with a new randomly generated password.
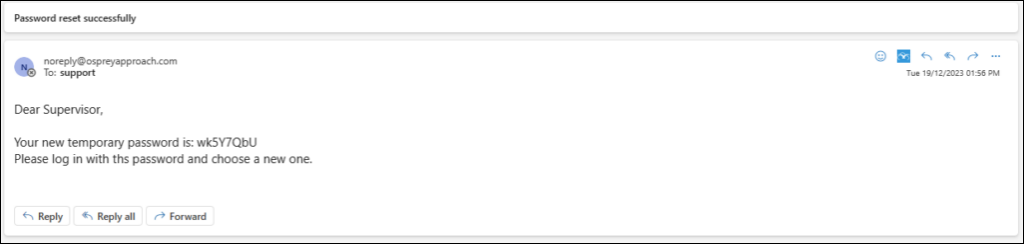
When logging in using a temporary password for the first time, Osprey will prompt the user to create their own new password.