Produce a Mail Merge Using the Client List Report
Updated Apr 26th, 2024
Who is this guide for?
Any Users
This guide will assist you in using the Client List Report to perform a mail merge
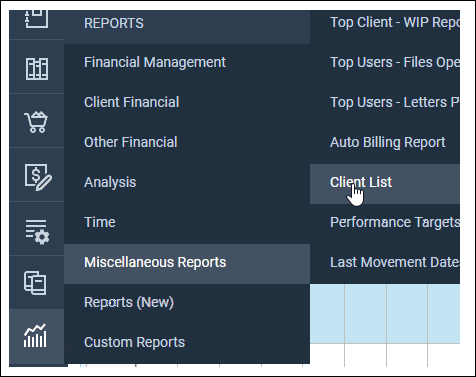
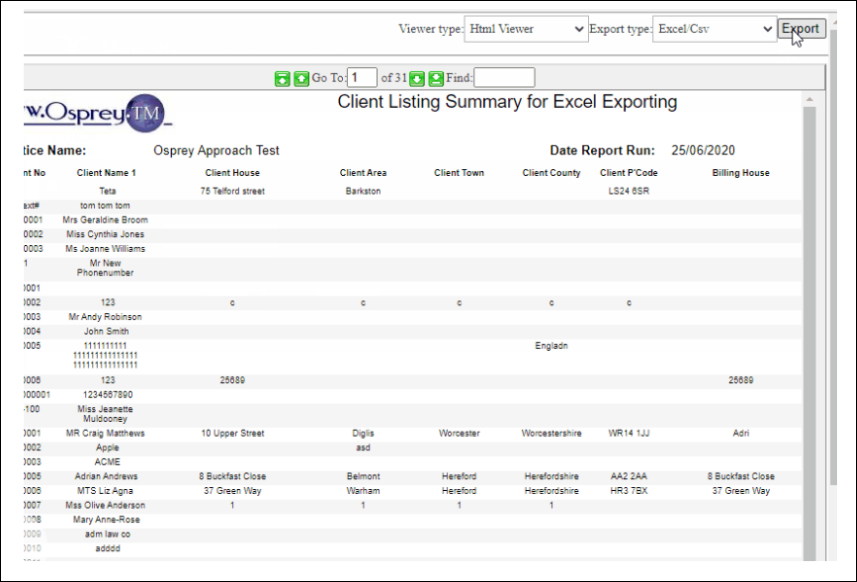
The Client List report lists all of your clients names and addresses according to the filter options that you choose. This list can then be used for purposes outside of Osprey by exporting to Excel.
Filter Options
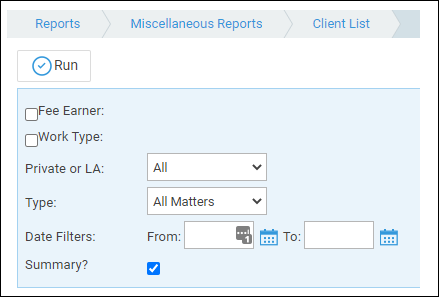
Fee Earner: Tick this box to select only certain fee earners, or leave unticked for all fee earners
Work Type: Tick this box to select only certain work types, or leave unticked for all work types
Private or LA: Leave on All for all clients or select Private or Legal Aid.
Type: Choose from All Matters, Live Matters or Archived Matters.
Date Filters: Enter the date range for the matters you wish to see
Summary: if ticked doesn’t include the fee earner or work type and only matter 1.
Open a blank word document.
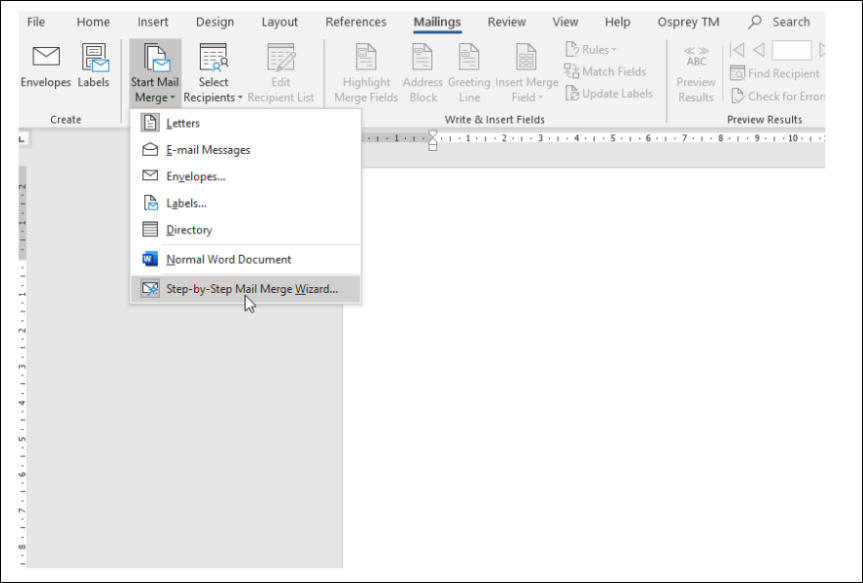
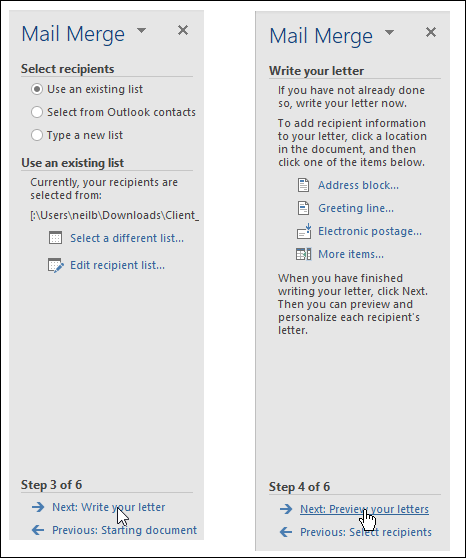
The right hand side of the screen shows the mail merge wizard, as shown below, and will assist you through the process.
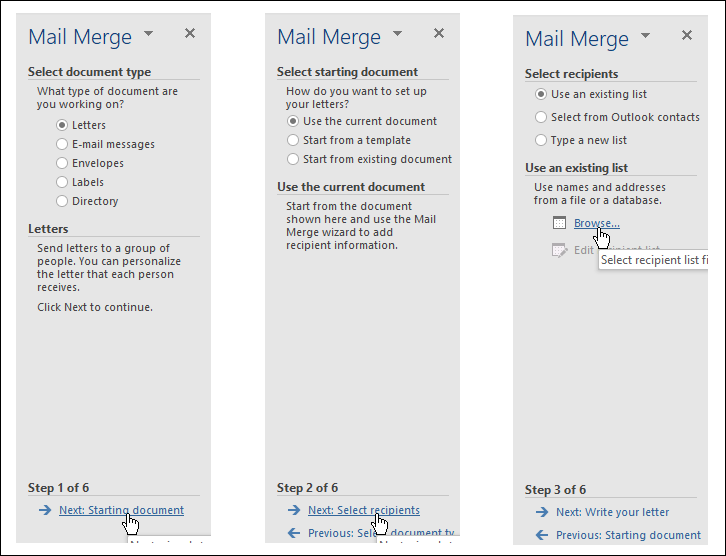
Click Next: Starting Document, Next: Select Recipients and Browse to select and open the saved Client List Report
The Client list is then displayed and all items are ticked. It is now possible to remove the ticks from any that need to be excluded from the mail merge. It is possible to scroll the list across to the right to see more columns.
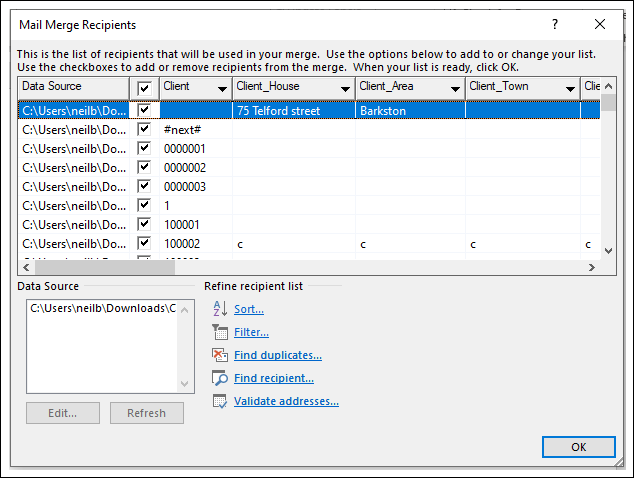
Select the OK button to proceed.
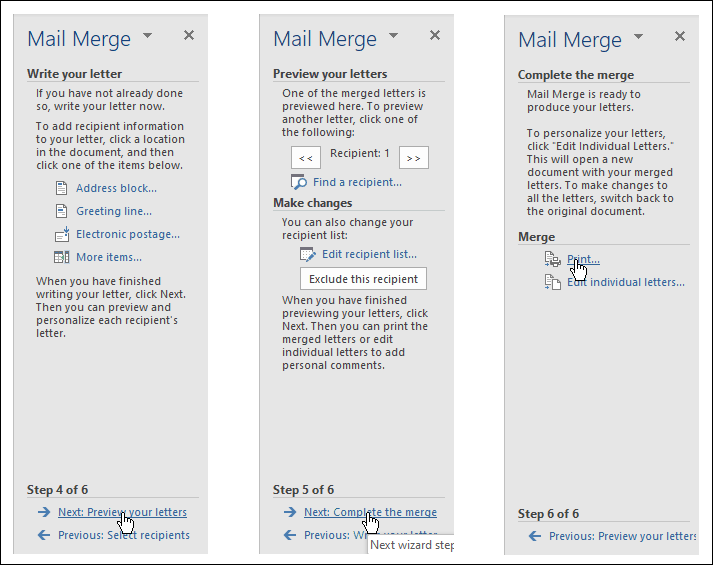
This will return you to the word screen. At the bottom right select Next: Write your letter and then Next: Preview your letters
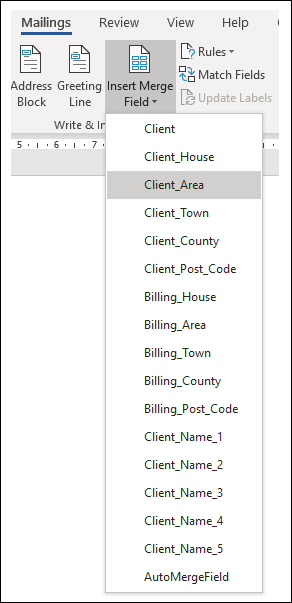
All the merge fields available for your letter are now available from the more items box on the right.
Start writing the letter to be merged inserting the merge fields in the appropriate places from the Mailings Menu, Insert Merge Field
Once the letter is completed select Next. Preview your letters and amend as necessary. Then click Next: Complete the merge. Finally, you can print your letters.