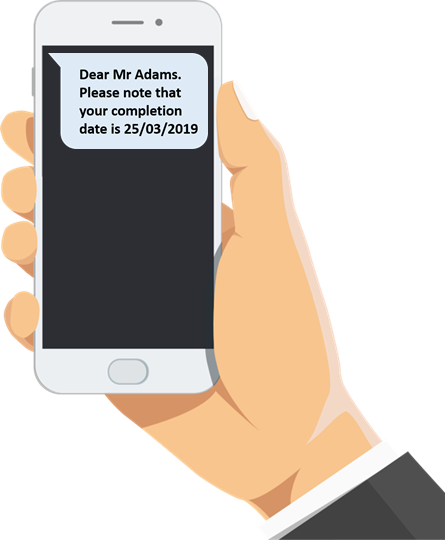
Send a Text Message from Osprey
Updated Apr 5th, 2022
Who is this guide for?
Any Users
To make use of Osprey’s SMS functionality, you must have credentials for TextAnywhere. If you need to create an account, you must do so from the following link: TextAnywhere
Please note: Any new accounts created directly from TextAnywhere may not be compatible with Osprey.
Osprey allows you to send ad-hoc text messages to any mobile device using the main mobile number stored in your Clients & Matters area, and also to create text message templates for use in workflows, or using the ad-hoc method.
We have also produced a short video if you prefer to watch these steps.
Setting up your TextAnywhere account
Step 1
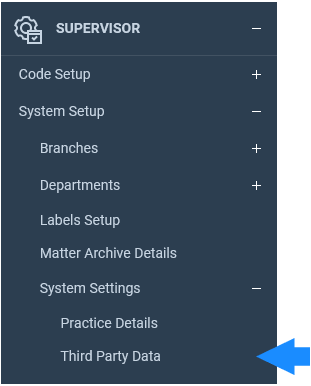
Navigate to Supervisor > System Setup > System Settings > Third Party Data
Step 2
Locate the TEXTANYWHERE setting, right click and select Edit.
Step 3
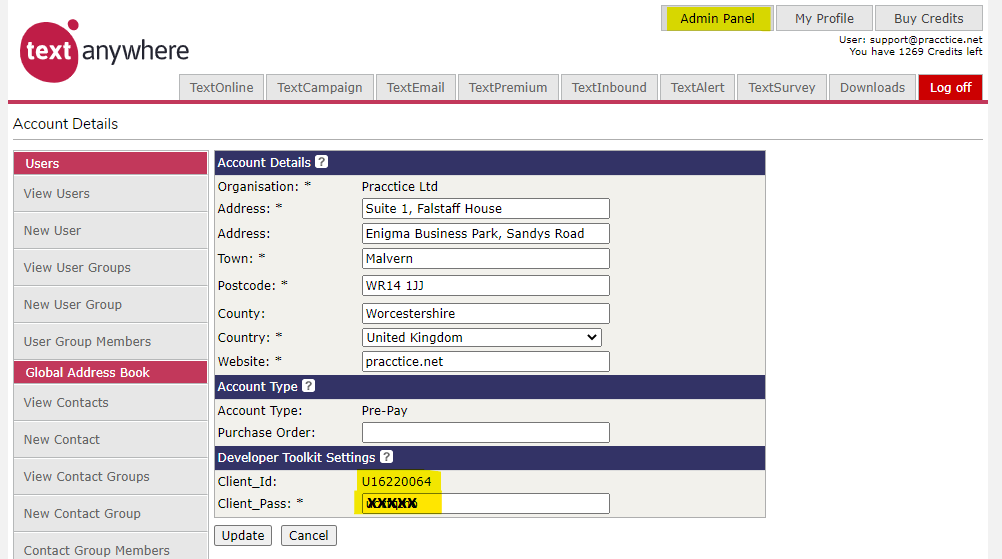
Ensure that your Username is set to the Client_Id as per the Admin panel in your TextAnywhere account, and the Password is set to Client_Pass:
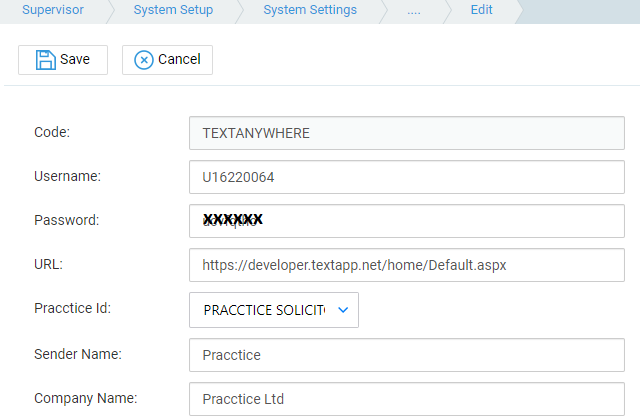
Set the Sender Name to be the identifier which will be send with your text messages.
Sending an ad-hoc Text Message
Step 1
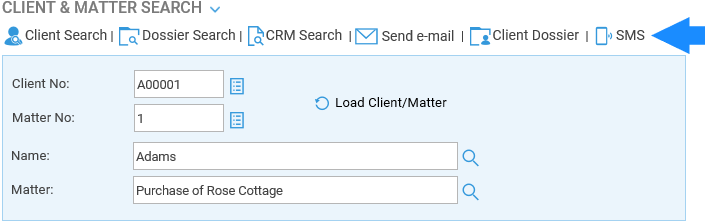
Next to your client search options will be an icon marked SMS.
Step 2
Selecting this will open the ‘Send SMS’ panel.
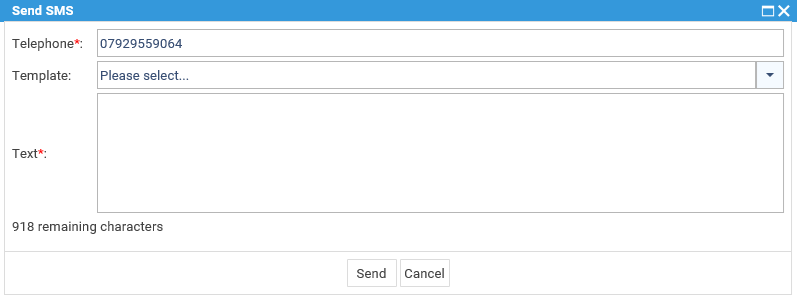
The ‘Telephone’ field is automatically populated from the client details when a mobile number is selected as a main number. You may overtype the number if you wish.
Set up a Text Message Template
A Supervisor level user will be able to set up standard text to be added as templates to your text message. You can even include client and matter dossier data in your text messages. Please see Page 3 for the Supervisor settings.
You may amend the template text as required. Alternatively, you can simply type a new message from scratch. Now click ‘Send’ and the text message will be sent to the specified number.
Step 1
A System Supervisor will be able to amend the standard text messages and add commonly used templates which can then be chosen.
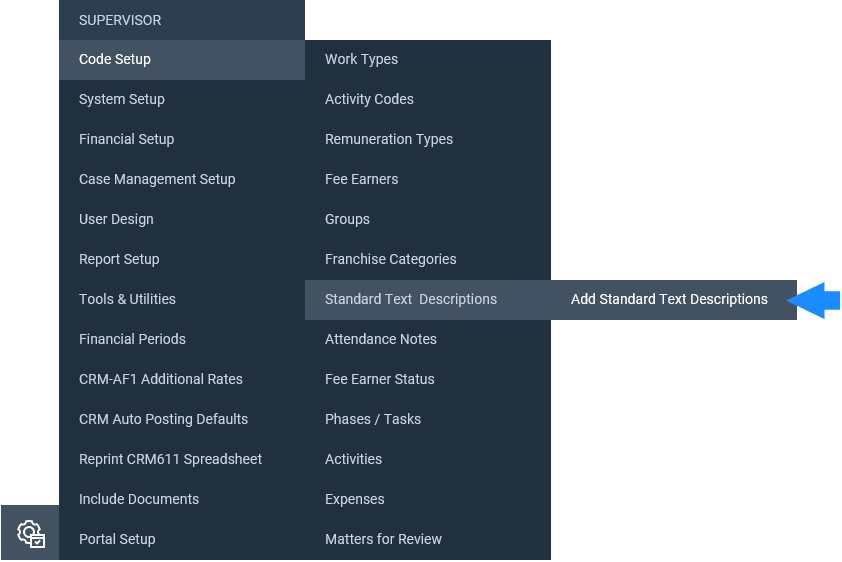
Navigate to your ‘Supervisor’ area and select ‘Code Setup’. Now click on ‘Standard Text Descriptions’ and click on ‘Add Standard Text Description’.
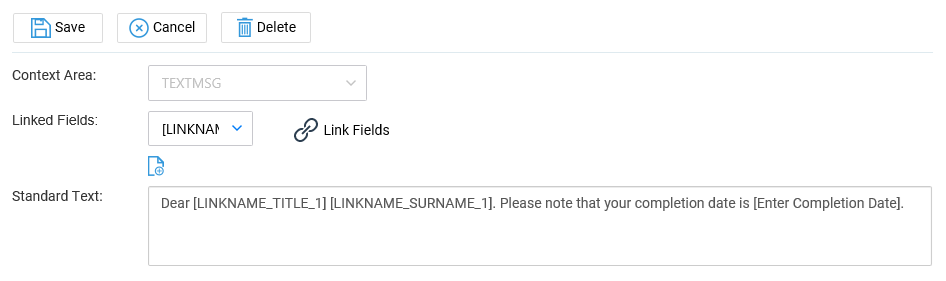
From the ‘Context Area’ drop-down list select ‘Standard Text Message’. You may now place the message you wish to save in the ‘Standard Text’ area.
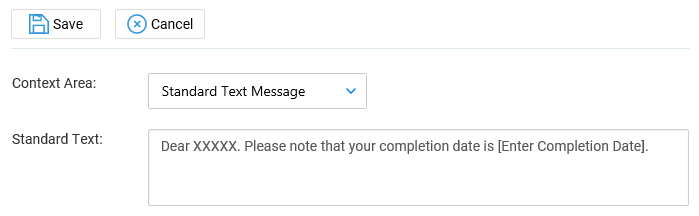
Now click the ‘Save’ option. This will move onto the next stage and will allow you to link fields from Osprey to your message.
You will notice a ‘Link Fields’ option now appear.
Step 2
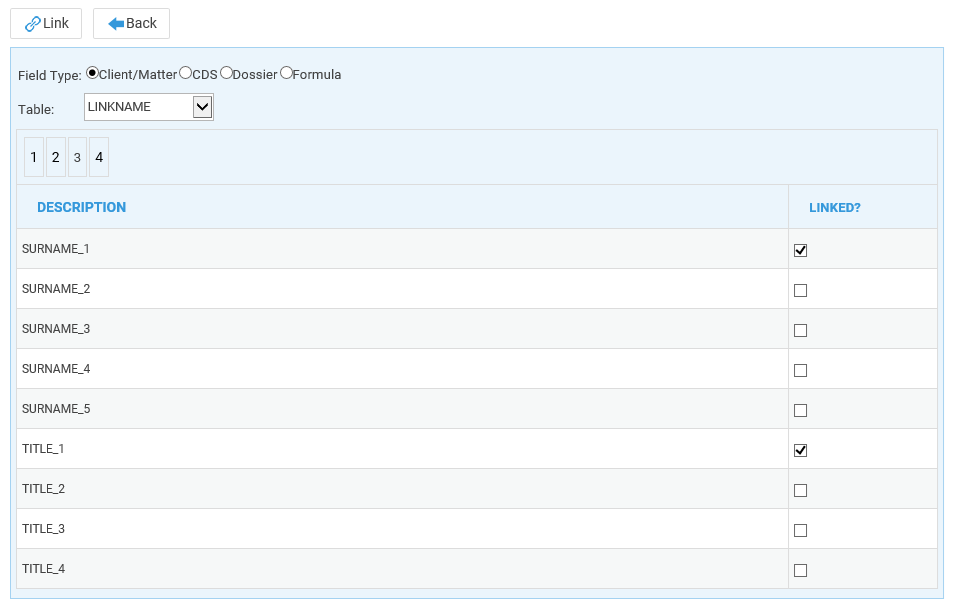
Select this to bring up the Osprey Fields area. From here, you will be able to link any fields available in your client and dossier areas, as well as any formula. Simply select the area to bring the fields through from and tick the relevant boxes.
Click the ‘Link’ button to confirm the links and then click ‘Back’.
Once you have selected ‘Back’ you will return to the ‘Add Standard Text Description’ screen with a drop-down list available. This will contain all of the fields that you have just linked. Simply select a field from the list and click the small ‘Link’ button to add it to the message.
Step 3
Continue adding fields as required, then select the ‘Save’ button at the top.
Once saved, click ‘Cancel’. Your new template is now saved and will be available to send through the Case Management area.