Set up Two-factor Authentication (2FA)
Updated Jul 1st, 2024
Who is this guide for?
System Supervisors
Osprey Approach allows you to set up two-factor authentication to enhance your security. This guide will go through setting this up for your database.
Please note that we recommend always using strong passwords for Osprey Approach and that passwords are NEVER stored or auto-completed.
Configuring password requirements and enabling 2FA
You can apply authentication settings to all users. Navigate to the Supervisor > System Setup > System Settings.
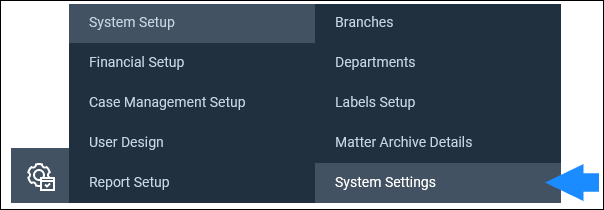
Click the ‘Edit’ button and then scroll to the bottom of the page.
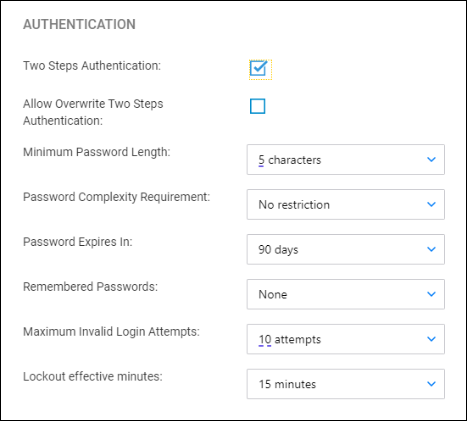
- Two Steps Authentication – Tick this box to enable 2 Factor Authentication for all users.
- Allow Overwrite Two Steps Authentication – When ticked, this allows users to disable/enable 2FA for their profile if 2FA is switched on.
- Minimum Password Length – Set minimum password length requirement.
Passwords must exceed 5/8/10 Characters - Password Complexity – Selecting Must mix alpha and numeric to enforce passwords to contain a combination of letters and numbers.
- Password Expires – allows you to set the number of days after which the password must be renewed. Options include Never/30 Days/60 Days/90 Days/1 Year
- Maximum Invalid Login Attempts – Set the number of incorrect tries before the account is locked. Supervisors will be able to unlock the account from the Users screen.
Options include No Limit/3 Attempts/5 Attempts/10 Attempts - Lockout Effective Minutes – will set the amount of time an account is locked following invalid login.
Options include Forever/15 Minutes/30 Minutes/1 Hour/2 Hours
Overwriting 2FA
If users are allowed to override 2 Factor Authentication, they can do so in their user profile. Click the User Profile icon in the top right corner.

You can change password here, or 2-Factor Authentication can be enabled or disabled by ticking or unticking the Enabled check box.
