Time Record on your matters
Updated Feb 23rd, 2022
Who is this guide for?
Any Users and Case Workers
You can time record in several different ways within Osprey. Use the menus on the right to select your preferred method.
Installing the Time Recording App
The Osprey Time Recording App enables you to record time wherever you are, on your mobile or tablet, or in the office on your PC.
To install the app, visit the help guide here:
https://ospreyapproach2022.wireddemo.co.uk/guides/install-the-osprey-approach-apps/
Time Recording App – Summary
Once logged into the app, you will see a summary of the time you have entered today.
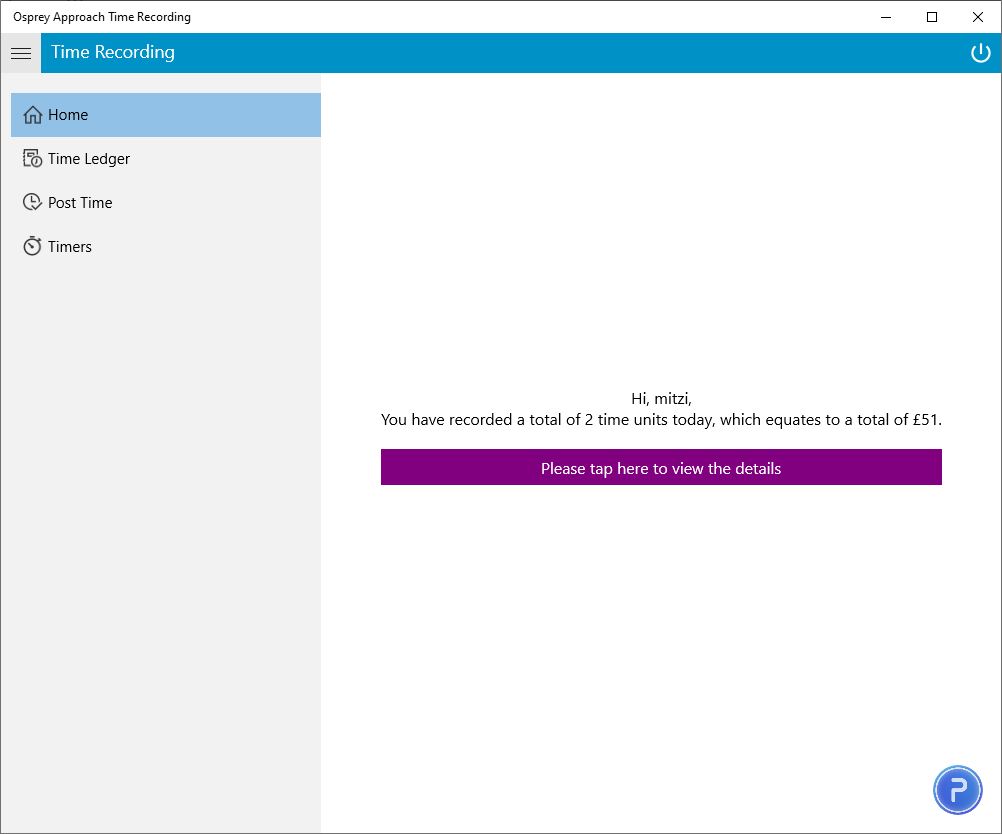
There is a navigation menu on the left hand side.
To post a time entry, click Post Time:
Time Recording App – Single Entry
The currently selected client is displayed in the posting screen.
Select Single entry.
Time Recording App – Multiple Entries
The currently selected client is displayed in the posting screen.
Select Multiple entries.
Every available activity code is displayed, and you can enter the time amounts alongside. Click Post when you are done.

Time Recording App – Changing Selected Matter
To change the client/matter you are working on, select Change Client/Matter. You can search or select from the last 10 accessed.
Time Recording App – Time Ledger
To view the time ledger select Time Ledger from the left hand menu. Your time entries on this client will be displayed:
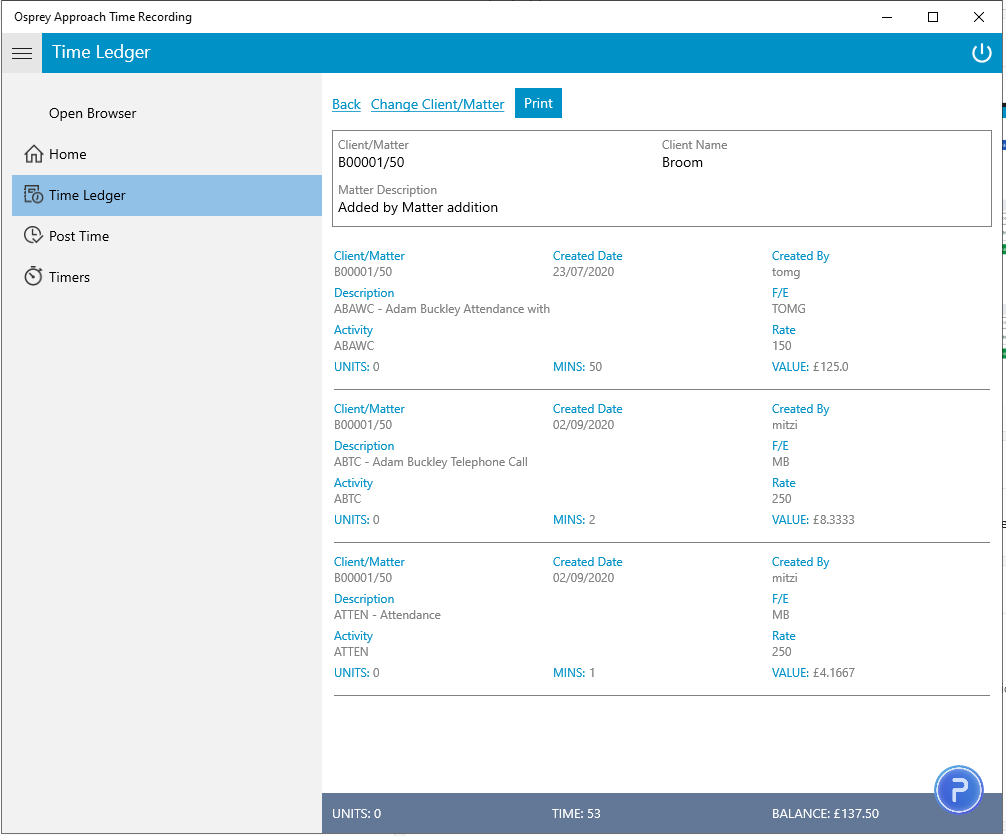
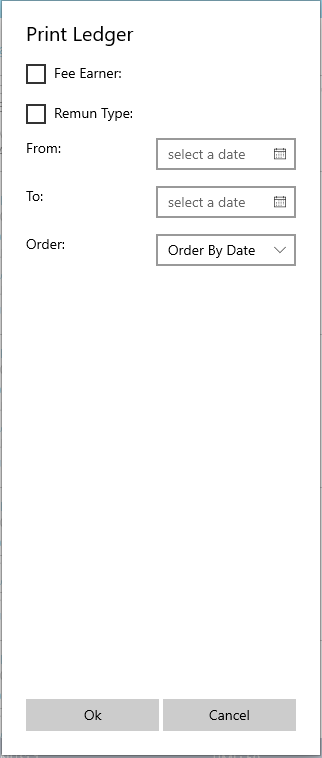
The time ledger may be printed by clicking Print.
Time Recording App – Timers
You can also use the timer facility within the app.
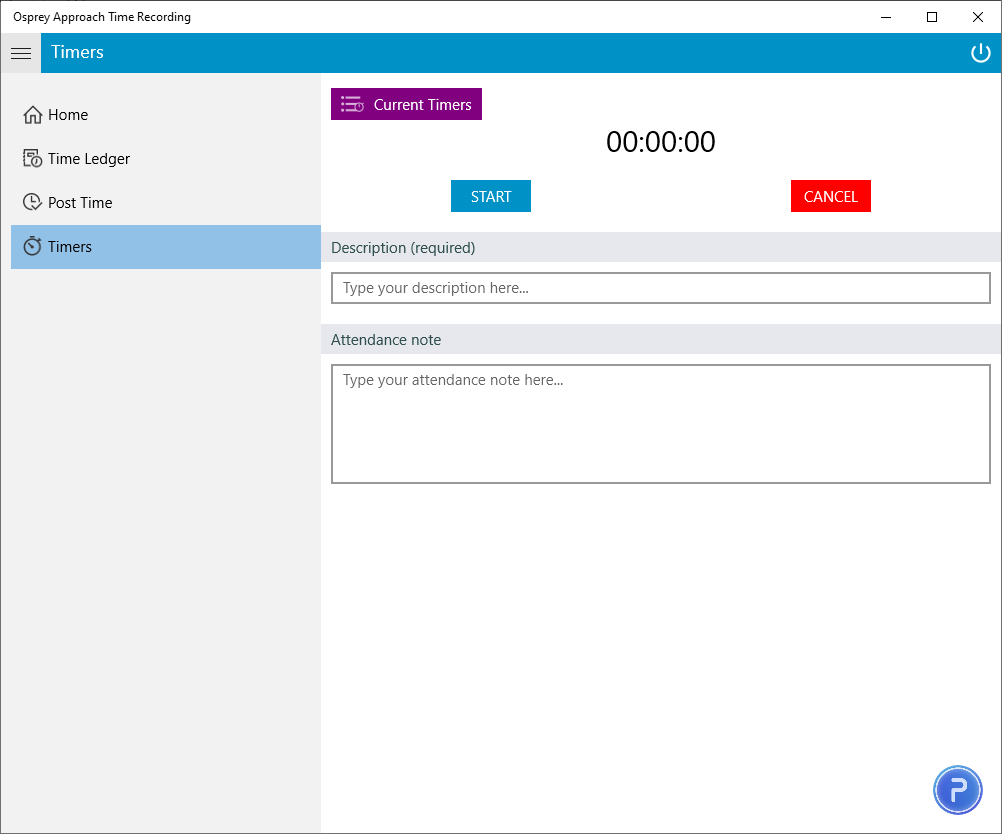
Enter a description for the timer and click Start to start a new timer. Enter any notes regarding the activity in the Attendance Note box.
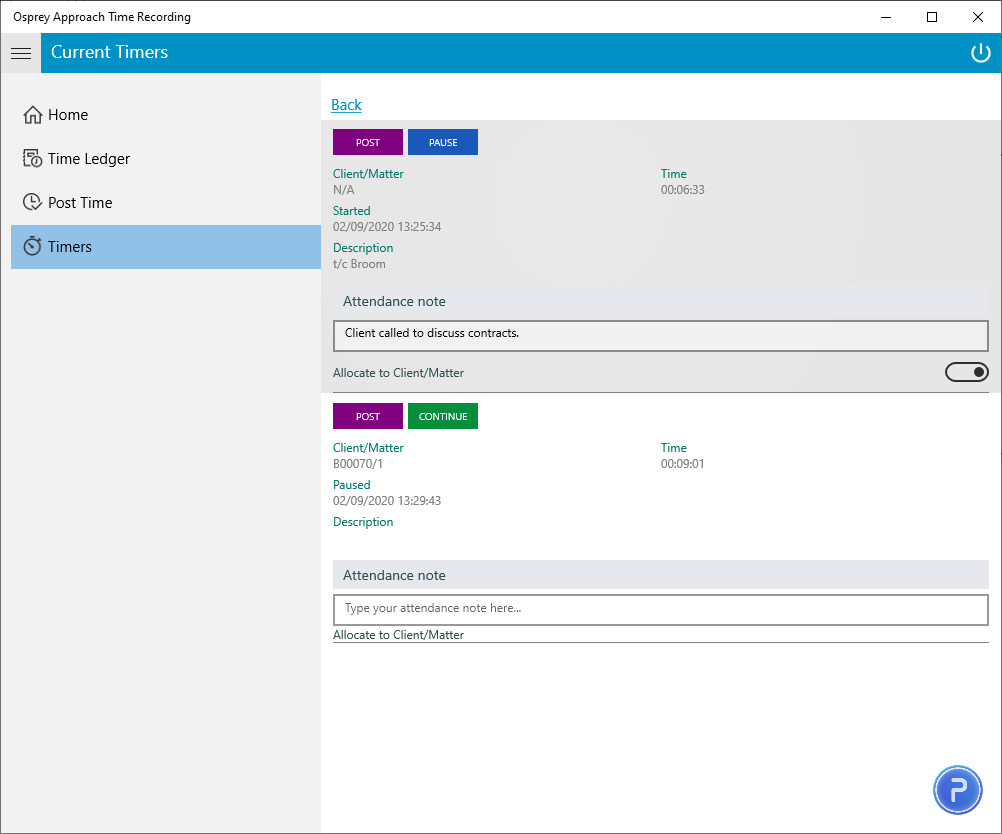
You can switch between timers using the Current Timers button. The status of each timer is displayed in the window as either Started for an active timer or paused for a paused timer. Use the Continue/Pause buttons to change the status of each timer. Click Post to post the time to the ledger.
Browser – Time Ledger
Browser – Posting direct to ledger
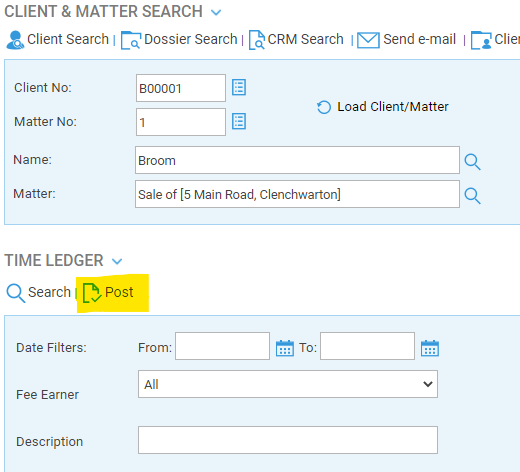
The Post button on the Time Ledger can be used to quickly add a single time entry.
Click the Post button:
Fill in all the details as relevant. If you need further activities adding, or the rates are incorrect your supervisor will be able to amend these for you.
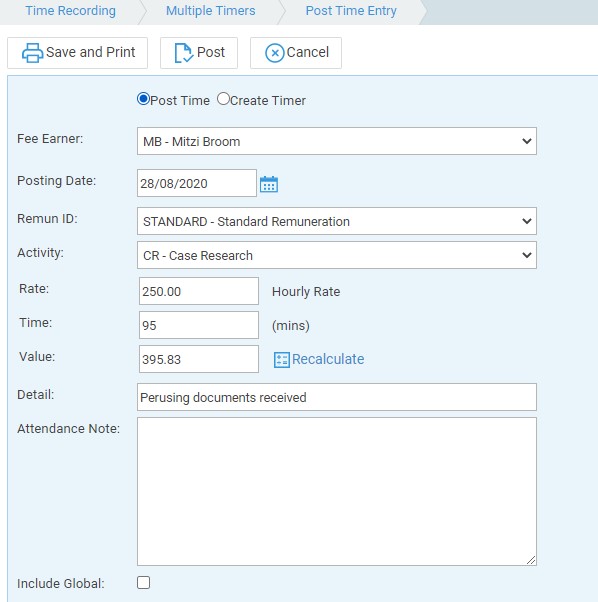
When finished, click Post to post your time onto the ledger or Save and Print to post it to the ledger and open a printable copy of the time entry. Your time is now billable WIP.
Browser – Timer
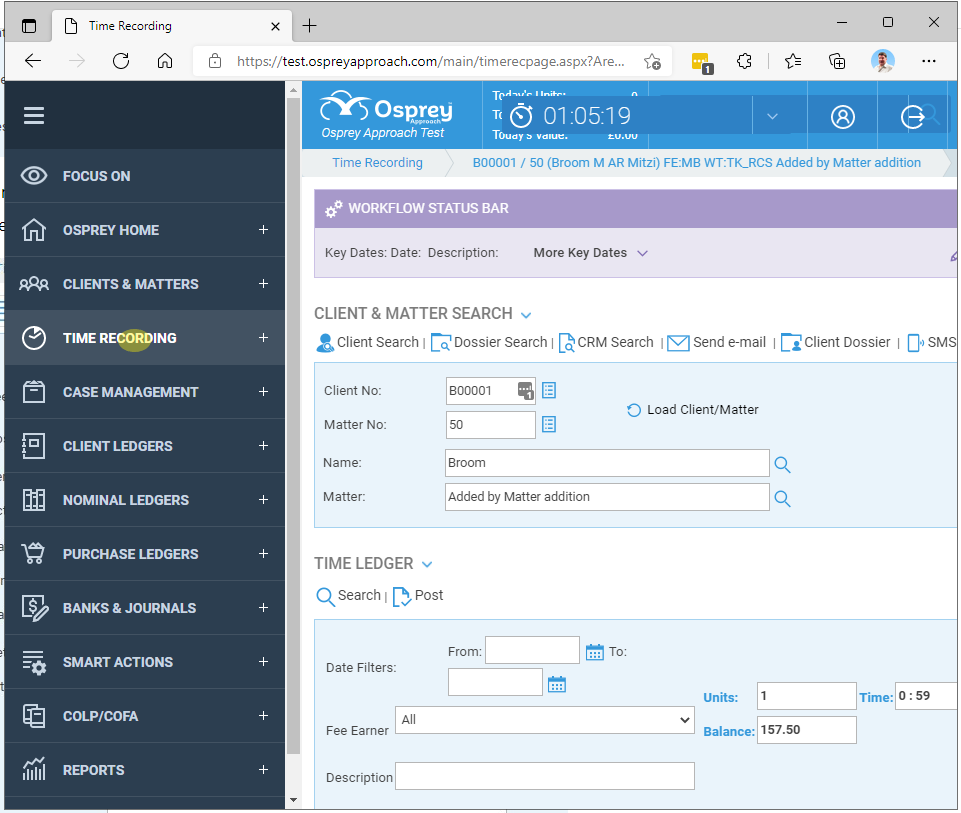
The Osprey timer can be used within the browser to record time as it happens on your client matters and is located at the top of the screen. The Timer will appear as below if collapsed:

or as below if expanded:

Click the drop down arrow to expand the menu:
If you have already selected the client you wish to time record on, select New timer on current matter. The clock will start recording time.
If you were working on a different matter and wish to record a telephone call coming in from another client, select New timer on blank matter. The clock will start recording time.
Change Timer – use this to toggle between multiple timers. Note – only one timer can be running at any one time, this will be the selected timer (click the image below for full screen).
Pause Time Recording – click this to pause the currently running timer.
Add Attendance Note – use this to add notes to the timer you are currently recording, details of the telephone call for example. Type the details you wish to record and click Save and Close. These notes will now appear in the Change Timer menu.

Post Time – use this when you wish to finalise your timed entries onto the time ledger. The details will be entered into a pre-populated form. Make and changes you need to and click Save and Print to post the entry to the ledger and pop up a printable window, or Post to simply post to the ledger.
Browser – Smart Actions Timesheets
If your fee earners prefer to fill in a spreadsheet with their time, this can be imported via the Smart Actions facility. For help on using this feature, follow the guide below:
https://ospreyapproach2022.wireddemo.co.uk/guides/smart-actions-timesheets/
Browser – Time Sheets (manual)
For secretaries recording time on behalf of a fee earner, this method can be used to record a whole day’s time sheet. The time sheet can be printed and checked off by the fee earner in question before it is uploaded to the time ledgers.
To record a time sheet, navigate to Time Recording > Time Sheets > New Time Sheet.
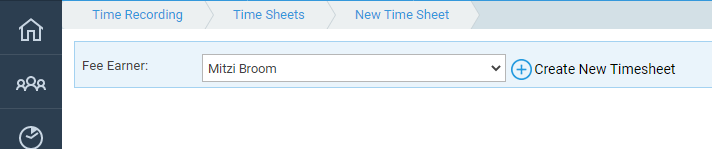
Select the relevant fee earner from the list and click Create New Timesheet.
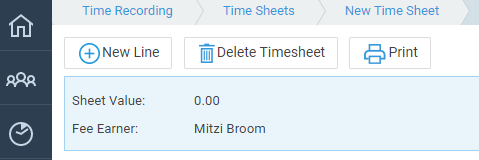
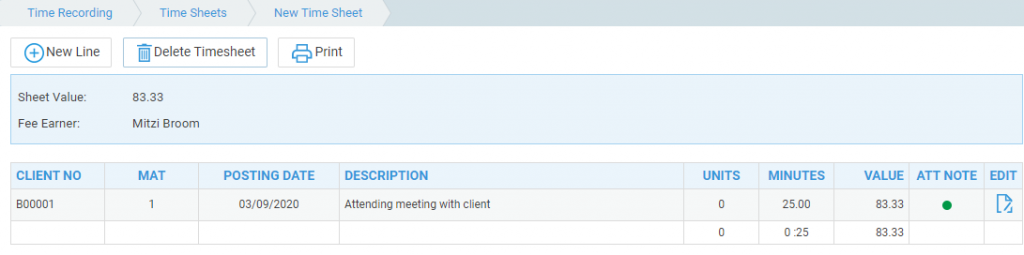
The system then shows the Time Sheet Summary screen. Click New Line to add a time entry to the time sheet.
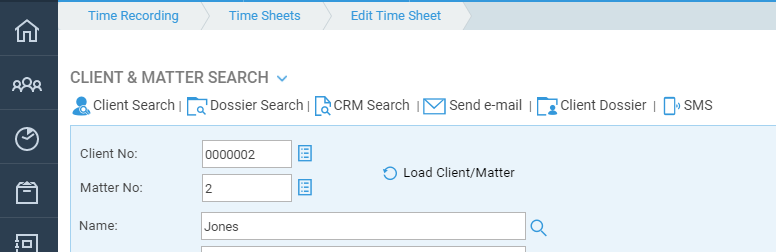
In the top portion of the screen, select the client/matter you want to add a time entry for.
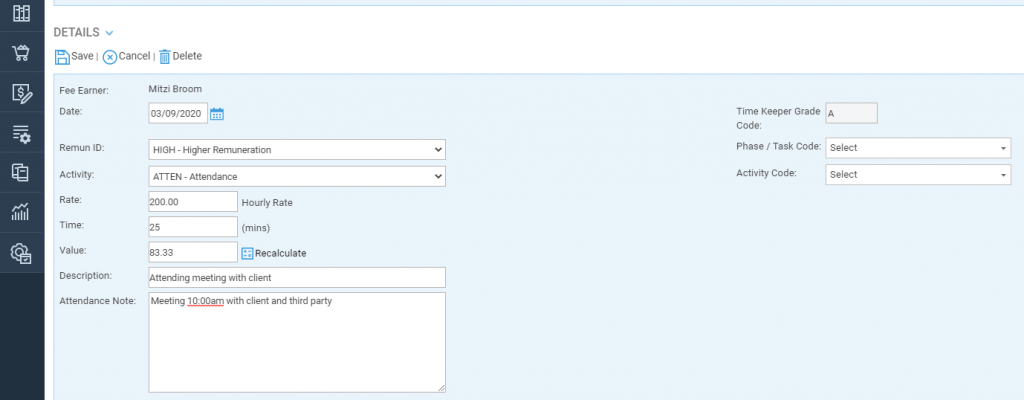
Once selected, fill in the posting details as required, and click Save.
You will be returned to the Time Sheet Summary screen, showing the entry you have saved, and the total value for the time sheet so far.
Repeat this process until you have added all the time for the fee earner.
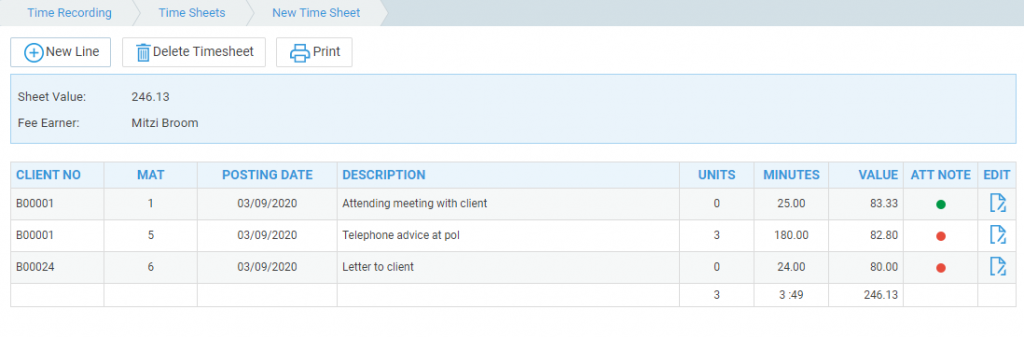
The Sheet Value shows the total value for the time so far.
The Att Note column displays a green spot if there is an attendance note, or a red one if not.
The Edit button alongside each entry can be used to change the posting details.
The Delete Timesheet button will delete this timesheet if, for example, you have used the wrong fee earner, or the time has already been posted manually.
The Print button allows you to print the timesheet for checking with the fee earner.
When the time sheet has been approved for posting, it will need to be updated to the time ledger. To do this, navigate back to Time Recording > Time Sheets. Place a tick in the box alongside the time sheet(s) you wish to update, and click the update button. The system will warn you if you have exceeded any WIP credit limits set on the matters, and you can confirm this. Once you see the Timesheet updated successfully message, your time has been posted to the ledger.