Upload data to the PI Claims Portal
Updated May 27th, 2020
You can upload data into the PI claims portal directly from Osprey.
Step 1
We have worked with the Claims Portal team to provide you with the tools to be able to upload data into the Claims Portal using data that has previously been entered into Osprey through the clients and matters and through dossier pages.
The information can be merged from data held and manually entered onto the new application where the information will then be uploaded to the portal, then downloaded by the insurers.
The insurers will, in turn, submit their own information regarding the case.
The purpose of this function within Osprey is to merge the client data that has already been entered into Osprey during the creation of the file, onto the form required to upload the data onto the Claims portal, therefore saving time in having to fill out separate forms.
Step 2
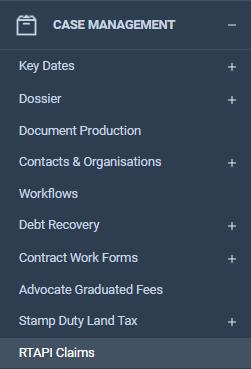
Navigate to the ‘Case Management’ area of Osprey and select ‘RTAPI Claims’.
Step 3
Select or search for the relevant client and matter and click ‘Load Client/Matter’.
The system will now display the RTA PI claims page which will show all forms submitted and downloaded from the PI portal.
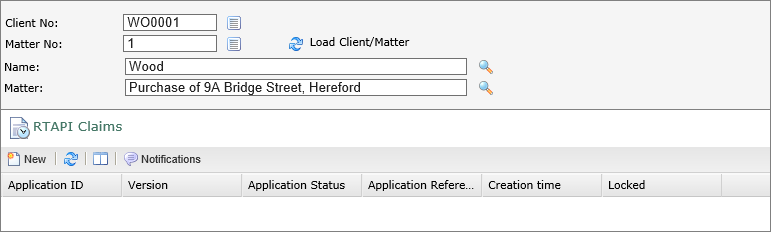
- The New icon will create a new claim to submit to the PI portal.
- This refresh button will refresh the PI portal and will check for any new statuses from the PI portal.
- The fit columns options will expand and collapse the width of the columns in the view.
- By clicking on ‘Notifications’ a new window will open showing Claim notification for the selected file. You can refresh this screen to receive all up to date notifications on this file.
Step 4
Click on the ‘New’ button – this will open up a form to be completed. At the top of the form there are several sections that will need to be filled in. Any boxes marked with an asterisk or bordered in red are mandatory fields, and must be completed before submitting the form.
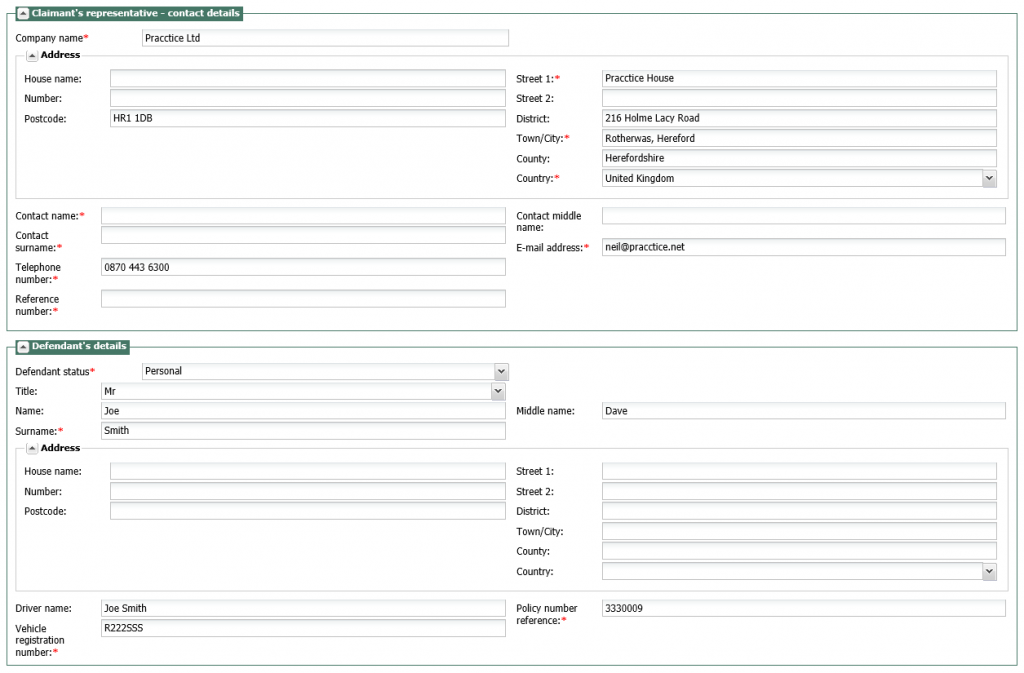
You will also see from the previous screenshot that some of the information has been automatically completed for you. This is done by completing field mapping through the supervisor section, which is detailed shortly. You can however also fill out this data by manually typing in the boxes if you wish.
Step 5
If we look at Tab 3 – Vehicle Damage and Alternative Vehicle Provision – you will notice that there is just one tick box on this page.

If you place a tick in this box the form will expand to reveal further information for you to fill in.
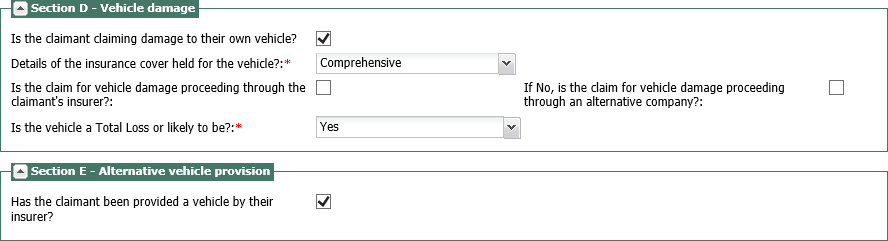
There are a number of these tick boxes within the new claim form. The form will extend if a tick is placed in the box and will show any further information required.
Once all mandatory and additional information has been completed you can then submit the form to the claims portal by clicking on save
This will submit the entered data to the PI Portal and create an application ID for the created application. This will remain on the screen.
Step 6
Before you are able to use and submit any of the information to the PI portal through Osprey, you must enter the portal login details onto Osprey.
Navigate to the ‘Supervisor’ section of Osprey and click on ‘System Set Up’. Select ‘System Settings’ and then ‘Third Party Data’.

Right click and select edit on RTAPI, this will take you to an area for you to enter your credentials for the PI portal, these will be the credentials that were provided to you by the PI portal Company.

Step 7
You will then need to map any data that you would like to be entered automatically onto the new claim form. This data can either come from the original client data that would have been entered onto Osprey when opening a new file, or from additional dossier pages.
The completion of the mapping is also done through the ‘Supervisor’ section of Osprey. Go to the ‘Case Management Setup’ area and select ‘RTAPI Claim Fields Mapping’.
This will then show a list of the fields from the New Claim Form that are available for mapping. As we can see from the below screenshot, the mapping has been completed for many of the fields already.

To Map a field click on the link, which will bring up a list of tables containing data in Osprey. This will be in 2 sections, the first section lists the Osprey system tables and the second section lists any dossier pages that you have created.
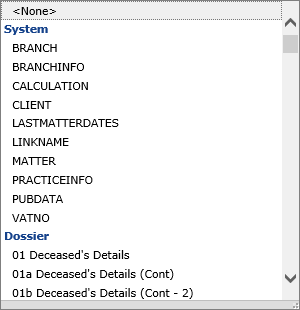
You will firstly need to select the table where the information is held and then select the field within the table where the information has been entered.
Once this has been completed for all fields that you want to map, click save and this will save the mapping.